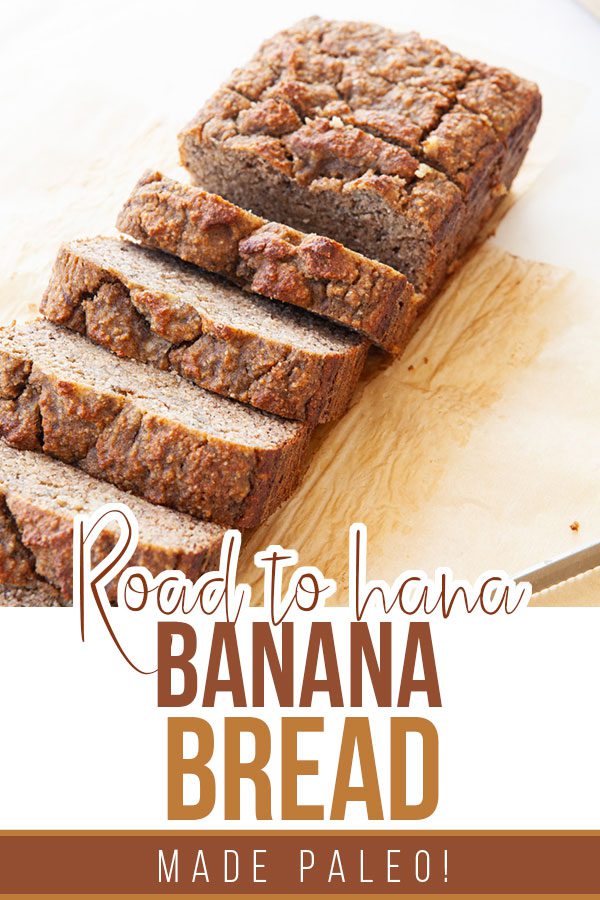
During our recent Maui trip, I fell in love with a banana bread loaf we got on the Road to Hana. We were told that Aunty Sandy’s Famous Banana Bread was a “must try” if we did the Road to Hana, so of course we followed suit. We made a quick pit stop and bought ourselves a loaf to try.
It was warm when they sold it to us and they gave us a little plastic knife with it; they knew that customers typically don’t wait to get home to dig in. We cut it and we each took a bite. OH MY. It was dense but soft, sweet, packed with fresh banana flavor, and just completely irresistible. Our slices did not last long.
Also, look how cute it was:
Immediately, I knew I had to recreate it once back home in Idaho. I wanted it to be just like Aunty Sandy’s, but made Paleo.
The first reason for making it Paleo is that regular flour doesn’t agree with me, and the second reason being that Paleo-based breads are much MUCH more nutritious.
We got back home and on to baking I went. And I’m stoked to report that it turned out AMAZING.
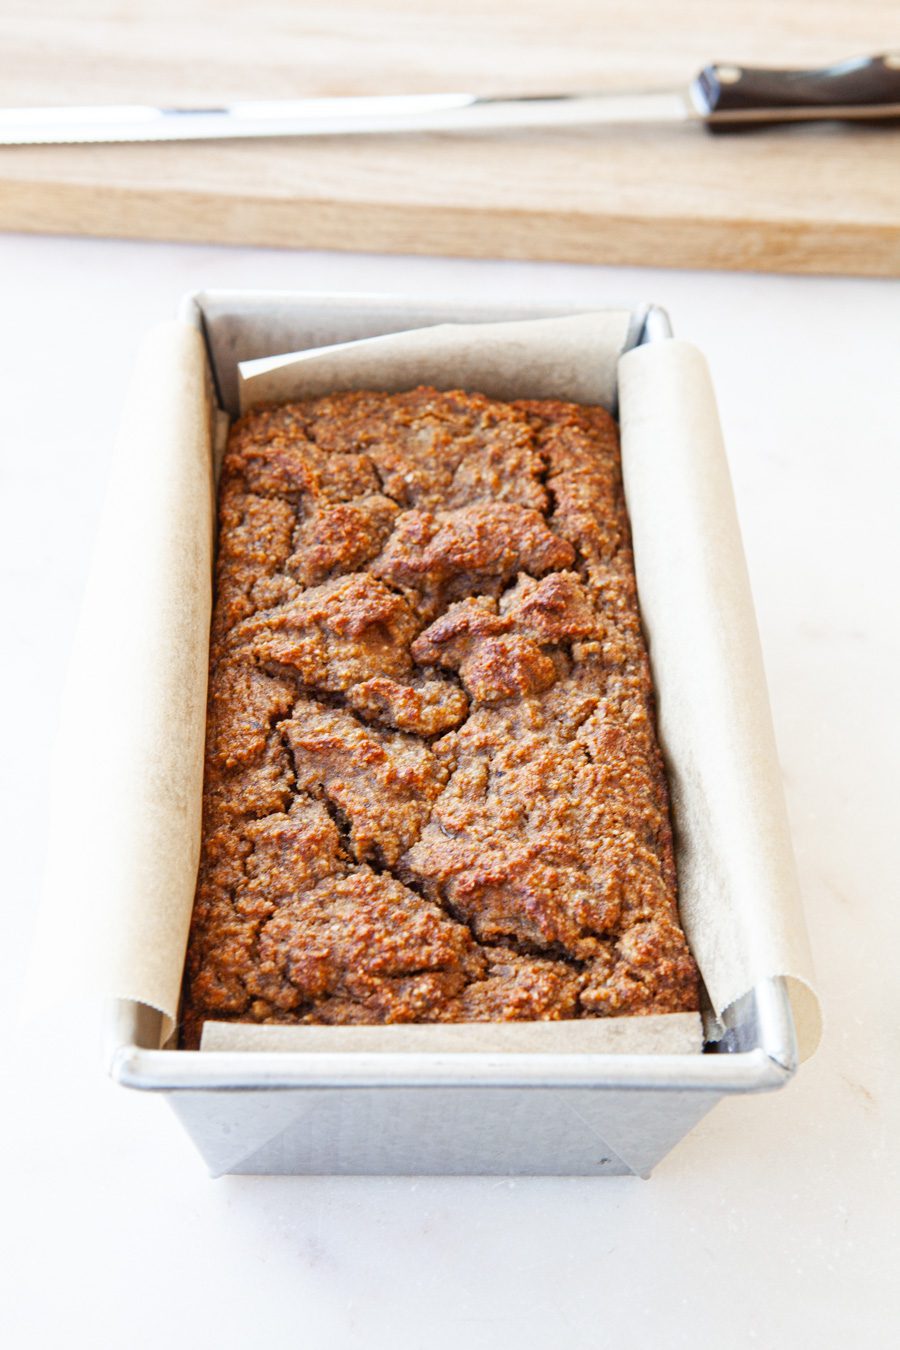
Tips on making great banana bread.
A big tip to make amazing banana bread is the bananas you use. You have to make sure that they are not overly ripe. You want bananas with a few brown spots, but not ones with many many spots or that are too brown. This avoids making a gummy loaf.
Another tip is to avoid adding extra sweeteners. These are not needed if you use enough bananas and if your bananas are just the right amount of ripe. Bananas are plenty sweet! Sweeteners (even natural ones like honey and pure maple syrup) can make your bread feel like a dessert vs a snack, and why would you spike your insulin levels for no reason?
Another tip is to use real vanilla, the seeds from vanilla pods. This will take your bread making game to a whole new level. Just trust me.
Last tip would be to make sure you keep an eye on your oven and baking times. Especially if you live at high elevations, as when the air pressure is lower, your goods take longer to bake. Keep your elevation and oven in mind when baking your banana bread. I like to check my bread at around the 30-minute mark to ensure its baking well and looking golden. In my oven and city (elevation: 2,730 feet), my bread is done at about 40 minutes.
What you’ll need.
You’ll need few simple ingredients to make my Road to Hana Banana Bread. The exact measurements are listed in the recipe section below, but here’s a quick overview:
Bananas: With a few brown spots, but not overly ripe. Well-mashed.
Eggs: I use large eggs, and I whisk them in a separate bowl first.
Vanilla: I love using the read thing, the seeds from vanilla pods. Makes for a much more all-natural taste.
Almond flour: For this recipe, I love using finely group almond flour. This is my go-to.
Ground cinnamon: This spice will add a wonderful, sweet flavor to the mix. Make sure it’s fresh, and that it hasn’t sat in your pantry for too long.
Salt: Only a bit will do. For my baked goods, I love a good fine sea salt.
Baking soda: Make sure its fresh. A little goes a long way.
How to make it.
So how do we make paleo banana bread? It’s easy. Scroll down to the recipe section below for detailed steps, but basically this is what you’ll need to do:
Turn oven on and prep your loaf pan: grease and line with parchment paper.
Get ingredients out and ready: “mise en place”. Everything in its right place.
Place dry ingredients in a bowl and whisk until well combined.
Add wet ingredients to a separate bowl and mix well.
Pour wet ingredients into dry ingredients and fold to incorporate.
Transfer the batter to your prepped loaf pan.
Bake the bread for around 40 minutes at 350°F. You know it’s done when you insert a toothpick in the middle and it comes out dry.
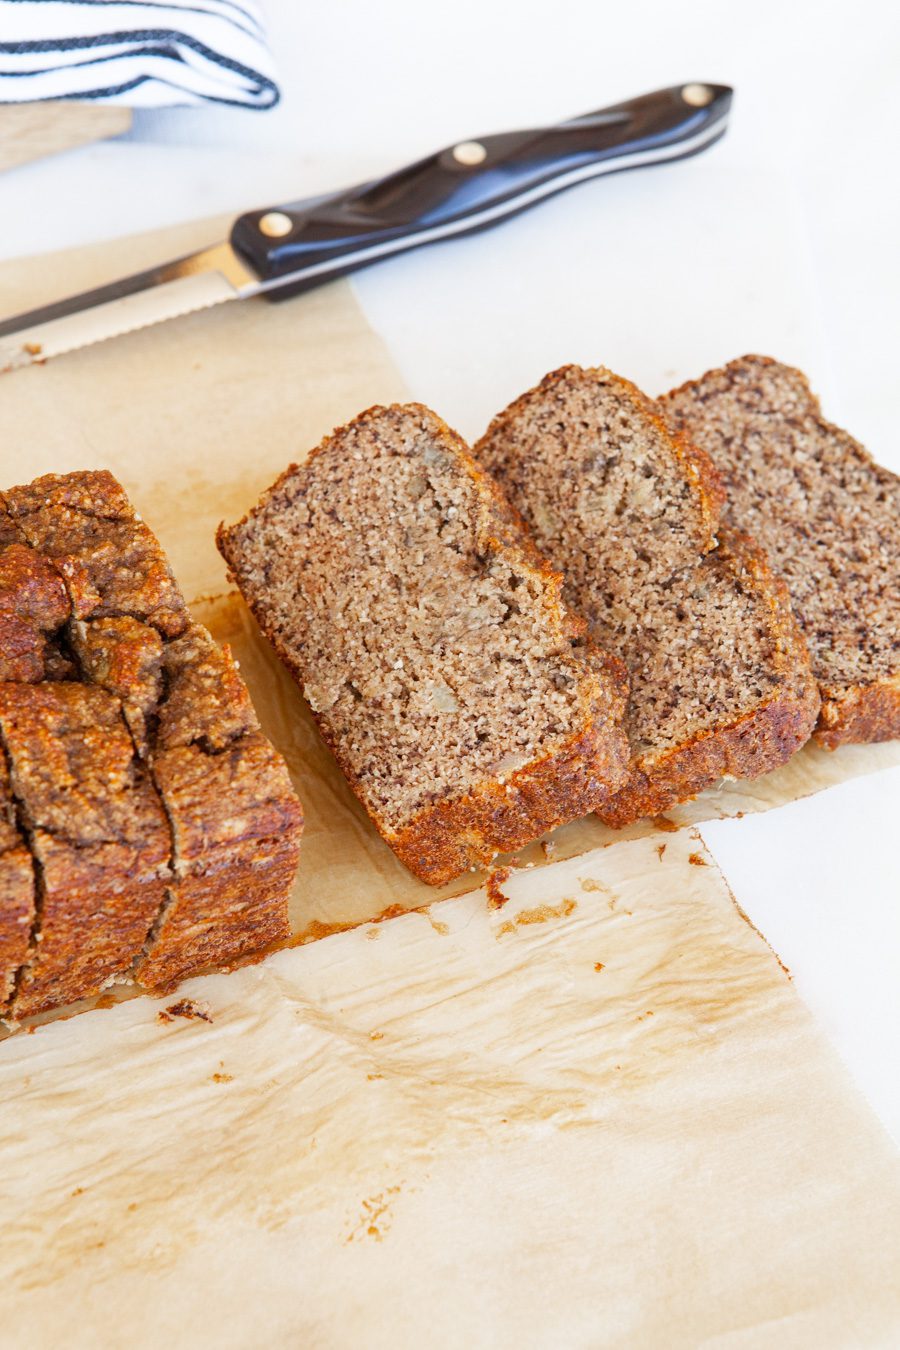
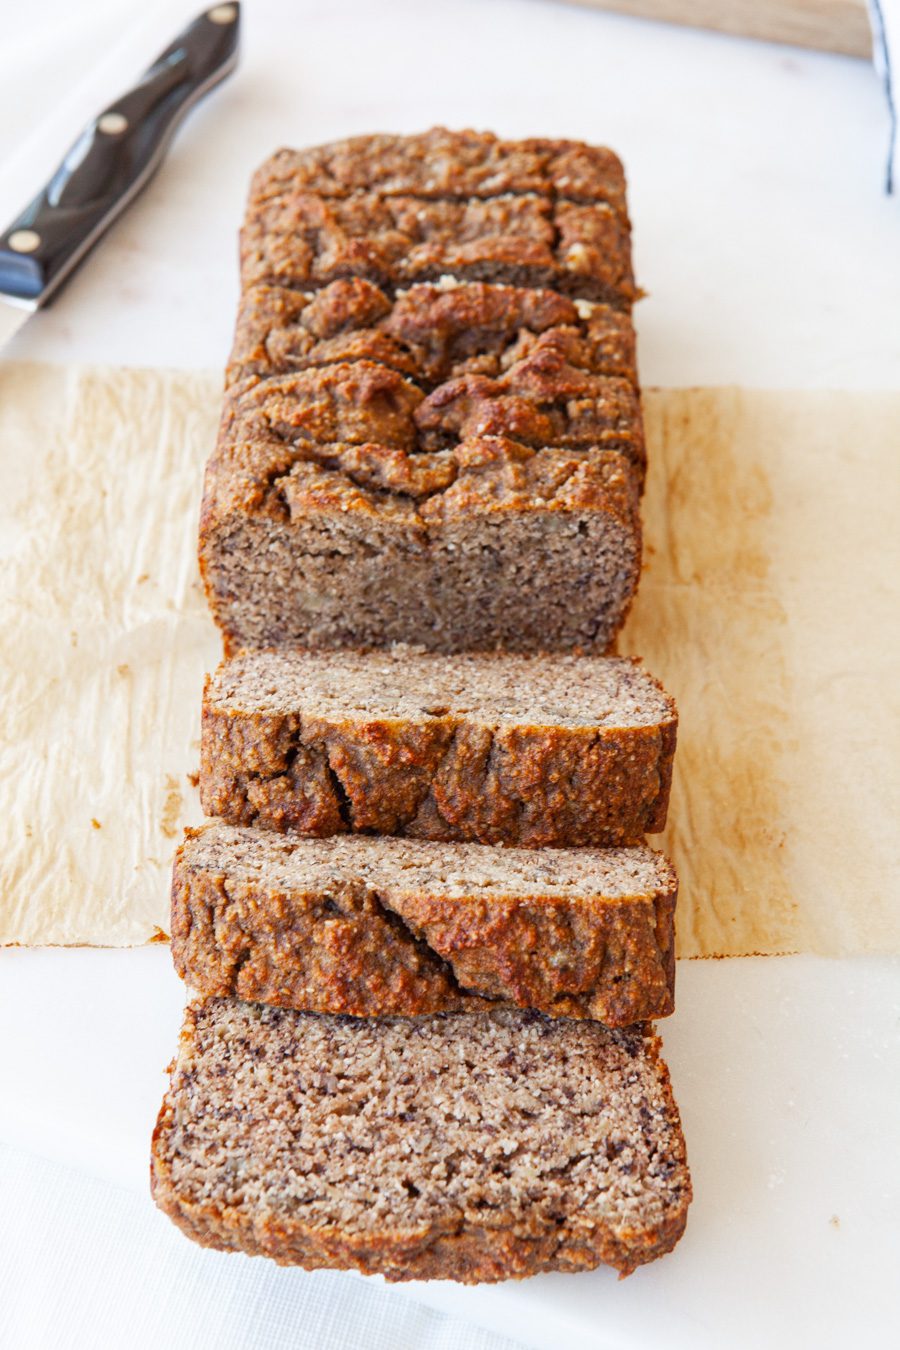
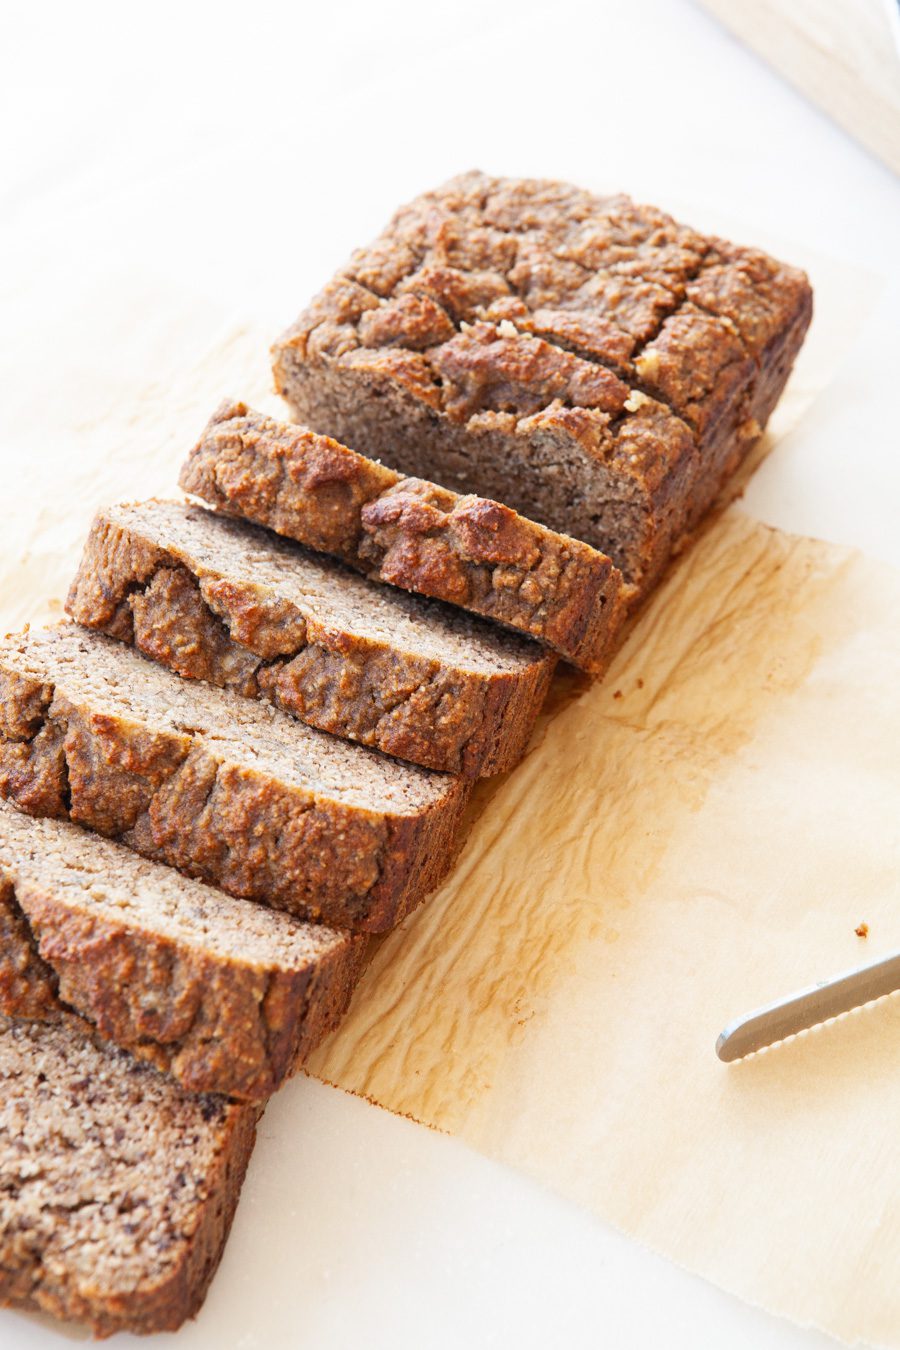
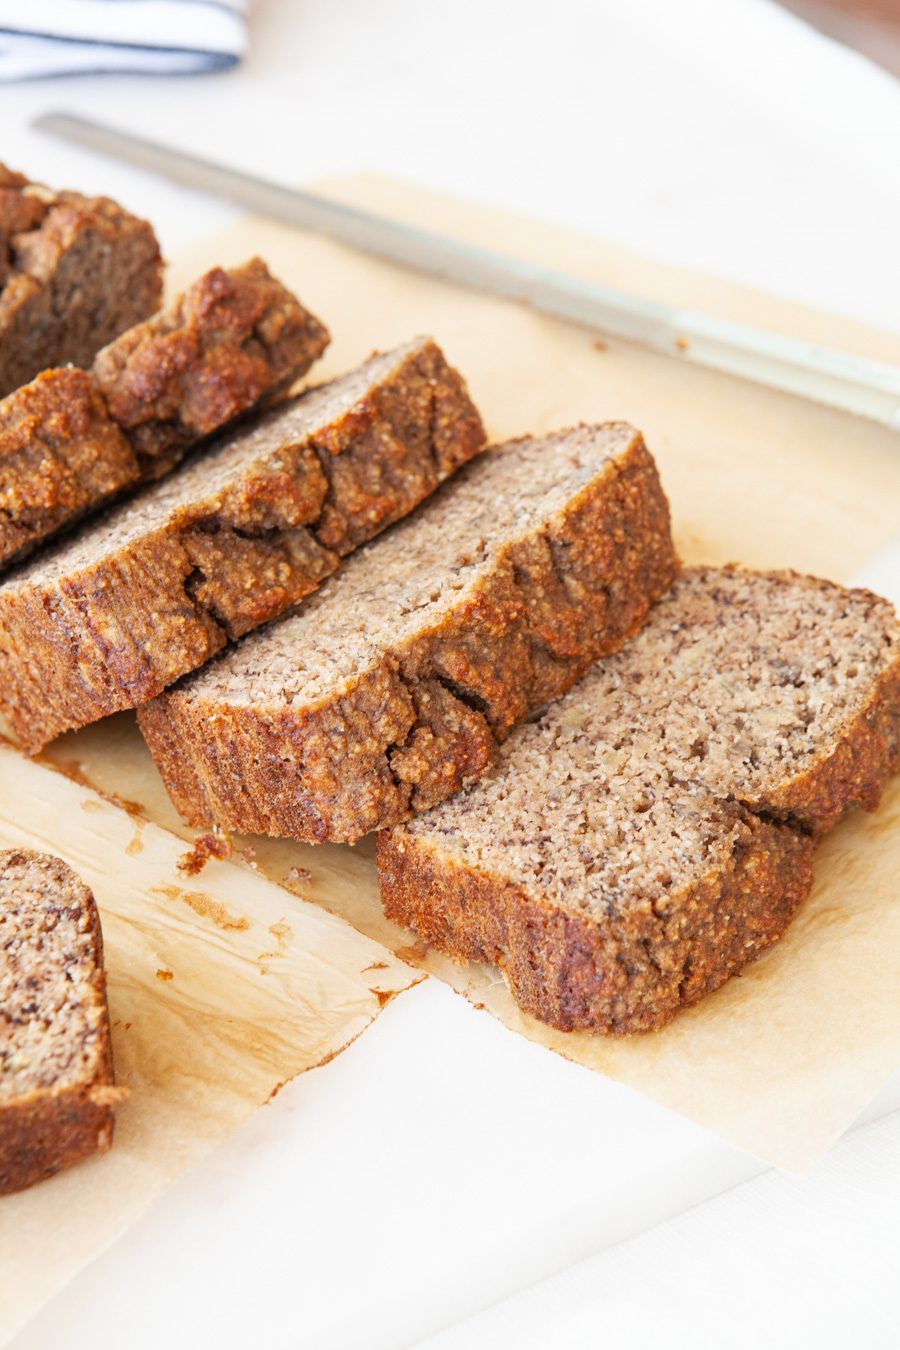 Allow your loaf to cool completely before slicing it. I know this is hard! But it’ll make for smoother cuts and better looking slices.
The bread is too soft when it comes out of the oven, which is why you wanna wait a bit. It’s texture will solidify as it cools, and I promise that waiting will make for a better banana bread eating experience. Plus, you don’t want to burn your tongue.
Serving suggestions.
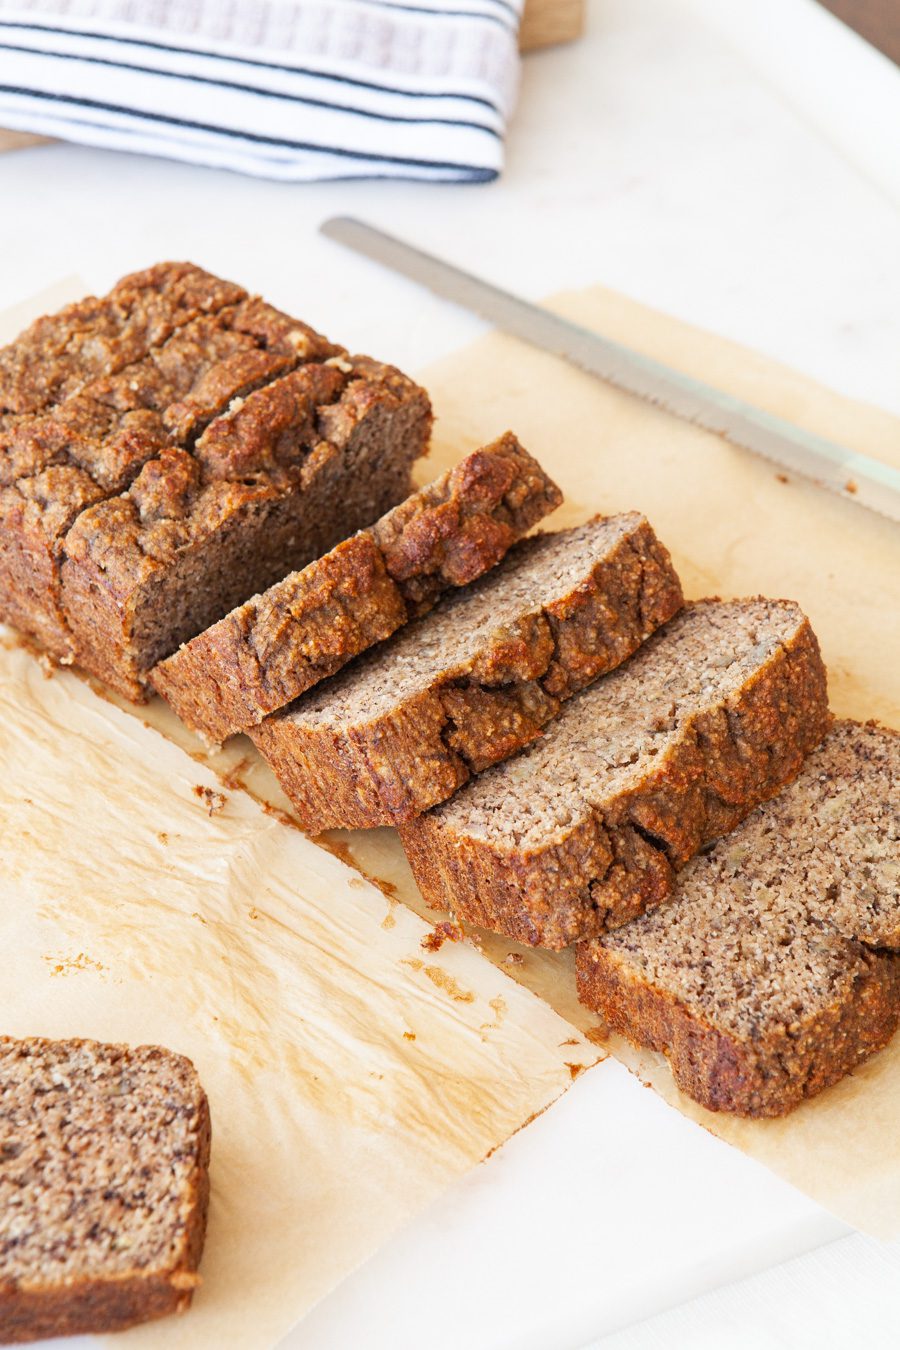
Personally, I love my banana bread by itself. Sometimes I’m feeling a bit “extra” and I drizzle drippy all-natural almond butter on top (YUM, so good).
My husband loves to enjoy it with a cold glass of unsweetened vanilla almond milk.
I’ve seen people enjoy it with soft butter or soft coconut oil on top.
YOU DO YOU!
 Storing leftovers.
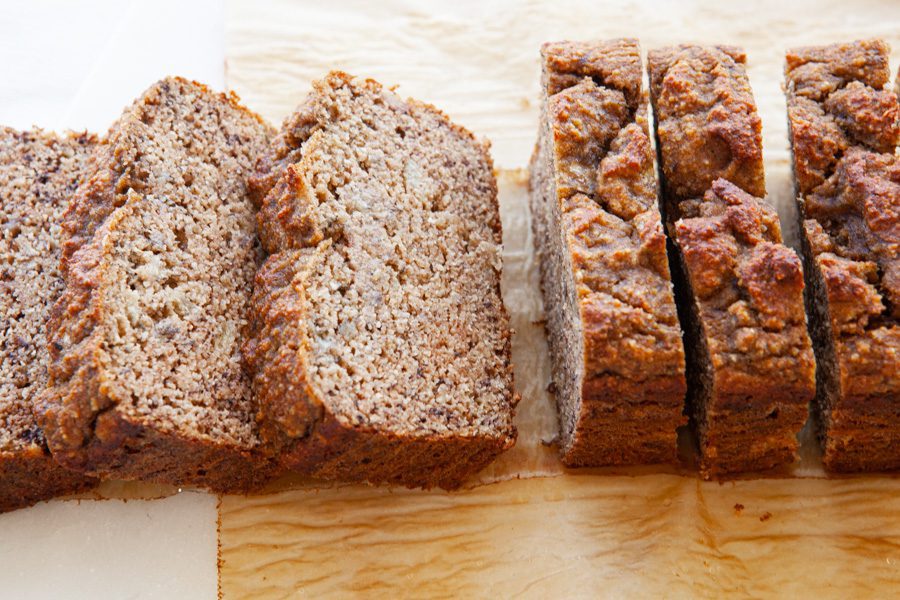
After enjoying your slices, you can store the rest and save it for the following days.
Cut a long sheet of plastic wrap and lay it on the counter. Place your remaining slices, one after another, on top of the plastic wrap. Fold the sides of the plastic wrap to encapsulate your bread. Simple and easy. Store away in the refrigerator for up to 4 days.
You can also freeze the slices in freezer bags, just separate layers with wax paper.
ENJOY.
Description
Road to Hana Banana Bread Recipe made Paleo. Simple, minimal ingredients, all-natural, packed with flavor. An amazing gluten-free and dairy-free snack!
- Preheat oven to 350 F.
- Grease a 1 lb bread pan with coconut oil spray. Line it with parchment paper strips, leaving an overhang on each side of the pan, and set aside.
- Mix almond flour, cinnamon, salt and baking soda in a large bowl, and set aside.
- Whisk eggs, pureed bananas and vanilla seeds in a separate bowl, and pour over dry ingredients. Mix until no lumps remain.
- Pour batter in bread pan, gently tap on counter to distribute batter evenly, and bake for 40 minutes, or until a toothpick comes out clean when inserted.
- Let cool completely and refrigerate for 2+ hours, as this yields for better slicing.
Notes
* Make sure your bananas are not overly ripe. You want bananas with a few brown spots, not ones that are all brown. This avoids making a gummy loaf.
- Prep Time: 10 mins
- Cook Time: 40 mins
- Category: Snacks
- Cuisine: American
